
DIY Projects
When you are looking for LED lighting you will find that they come in a wide range of variations and colors and multicolored. you will also find that some (factory made) are still quite expensive and are not even that great. Now there are alot of different LED lights.But the LED strips are probably the easiest to use and install. These strips come in single colored or multicolored strips called RGB (Red-Green-Blue) strips. With the RGB strips you have a wide range of colors you can set. Usually these strips are available on a “reel” or rol on which they are stored. The reels usually have 5meter of LED strip on it and you can easily make them the length u want/need cutting them on the “cuttinglines” as seen on the pictures to the right. This “cutline”is where the copper points are visable. This is where the wires can be soldered to once the strip is cut to thew desired length.On the RGB strips it has the matching letter to know where wich signal for which color is sent on. single colored do not always have this and you might have to test it with a 12 volt powersupply. I found an old laptop power supply/adapter that works great ! so if you have and old one laying around. Why not put it to good use?! These put out a good voltage and current and run these RGB LED strips very well. You can create very beautyfull ambient light for in your livingroom , bathroom , bedroom or anywhere you like in your house or you can use them for other purpose like i did in the pictures and use them to light your fish/shrimp tank.(make sure you get the waterproof LED strips) Or in this case multiple tanks next to one another in one line. This was at that point the most easy solution and actually did not look that bad!!Replacing broken fluorecent bulb for LED
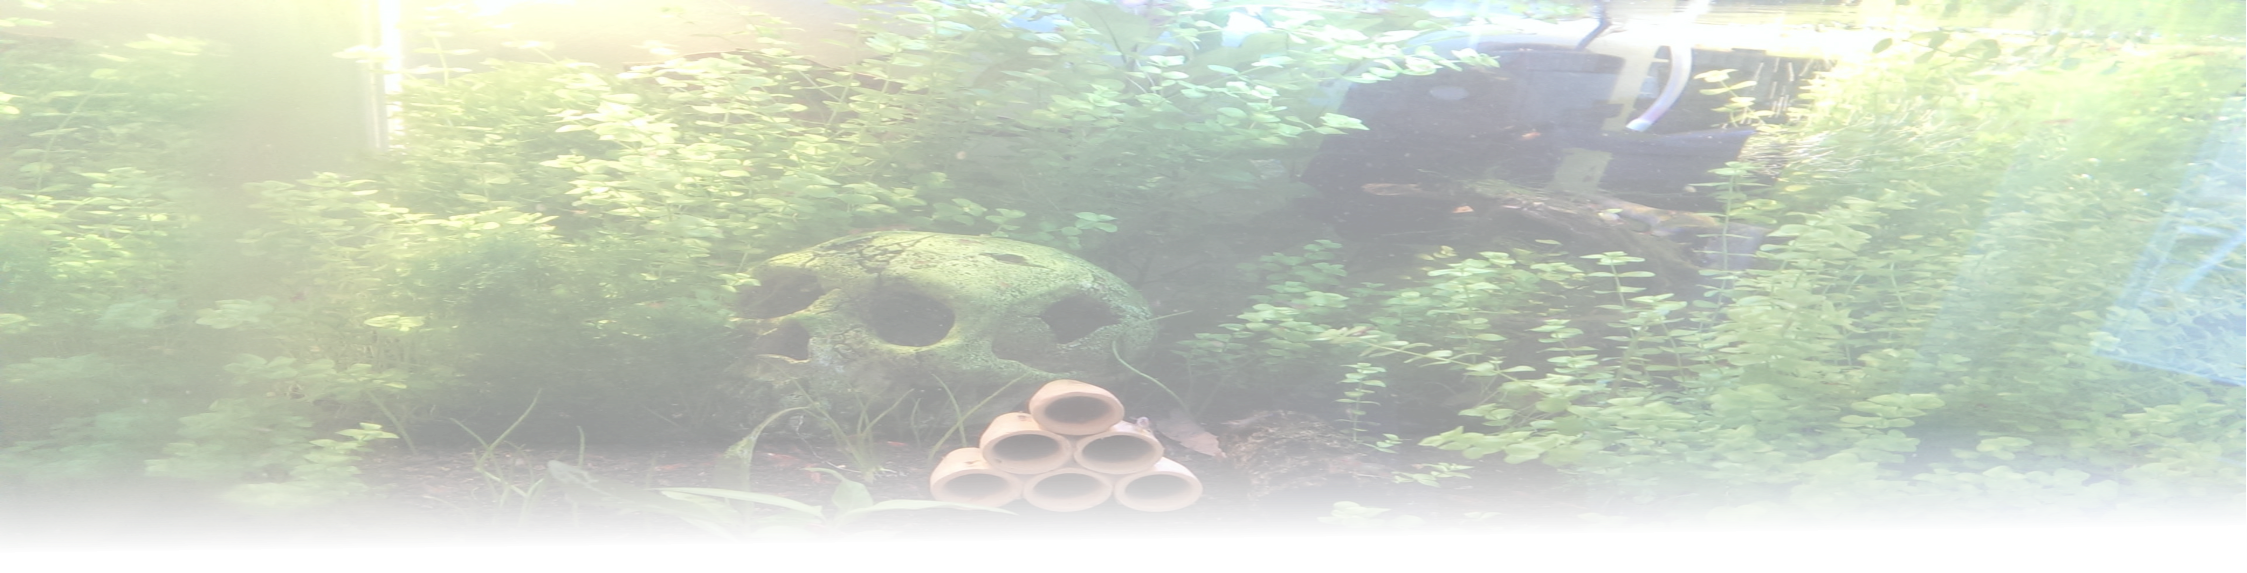
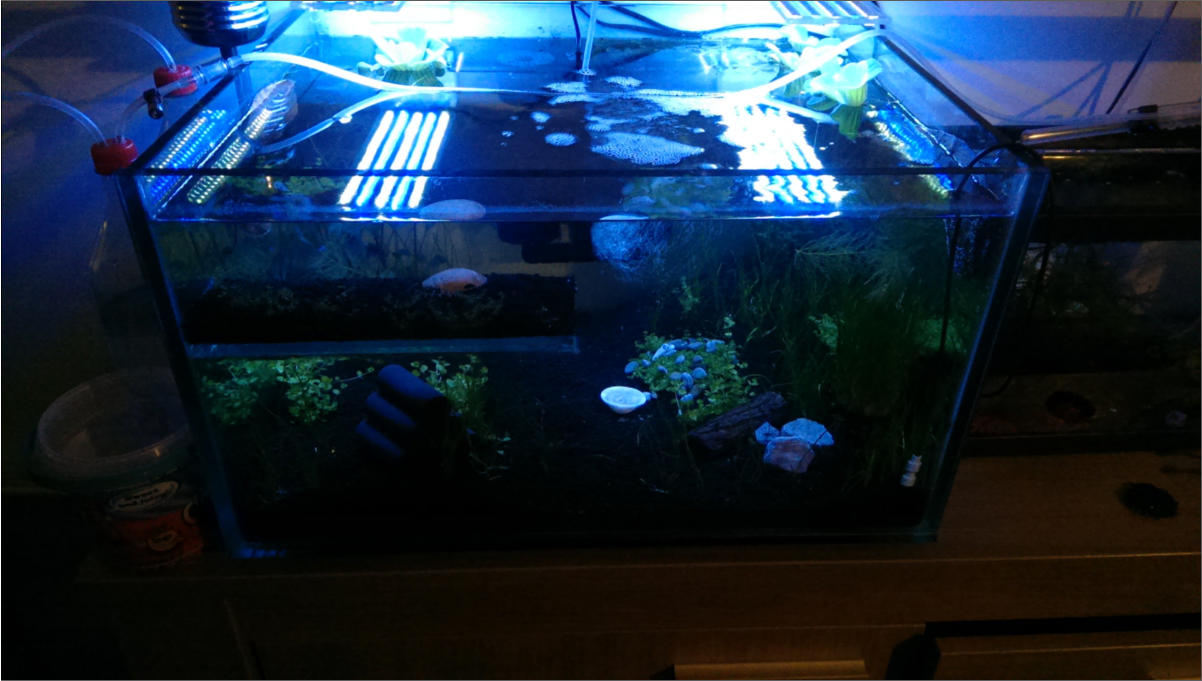
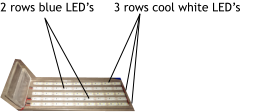
For one of my other tanks ( 60cm x 30cm x 30cm) the fluorecent bulb inside that black plastic lid broke. And i decided i would try to do something different. Since i liked the white and blue lighting of the LED strips i wanted to do the same thing to this tank. But instead of just sticking some strips in/on it i did it a little diffrent. i had a broken christmas LED lighting wich i stripped the LED’s of and figured if i wanted them to work on 12volts i should put 4 in series(behind eachother). So made a kind of grid with 4 LED’s devided over the surface of this plastic 2 mm thick plate i had. Had to drill quite some snug fitting holes but was done pretty fast. For the white lighting i had 4 of the “angel eye” LED rings. Wich i placed in the centre along the length of the tank lid. Then wired up the blue and white LED’s each to a seperate simple 12v power adapter with a switch so i could play with the light settings. All in all it came out pretty nice in my opinion.
Now as that idea was the
most easy and simple to do and did work pretty nice. But there are alot
of ways you can put them to good use! i added dimmers on both colors
(white & blue) to play with night and day lighting.

I have a small space behind my tank. About 6mm and this is how i place them on/above the tank.
Placing the bended part in this small opening itll rest in between and on the glass and will not
move. easily taken of if needed and put back.


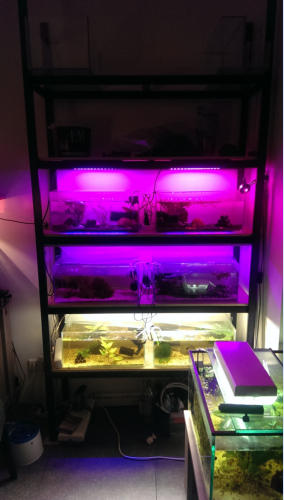
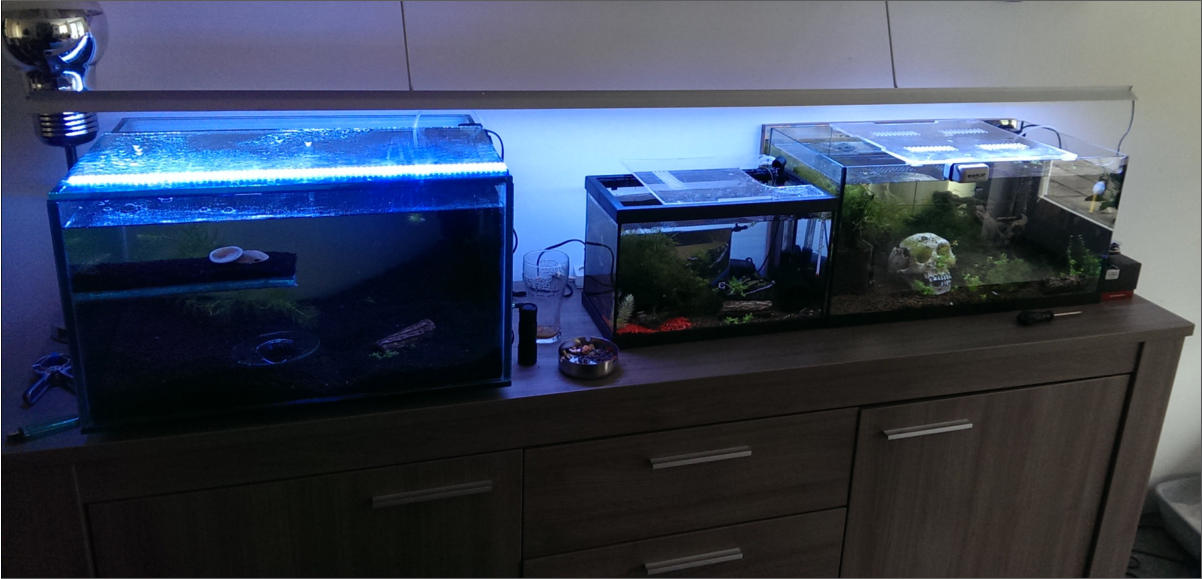
Rack setup with different lightings to test which one is
best for the plant life in the tanks but also cheapest